1.9 Picking FB on cloud
1.9.1 Register and activate user account
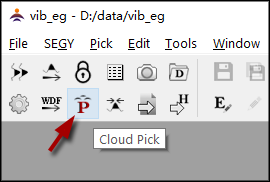
Select the menu "Pick->Cloud Pick", or click the icon
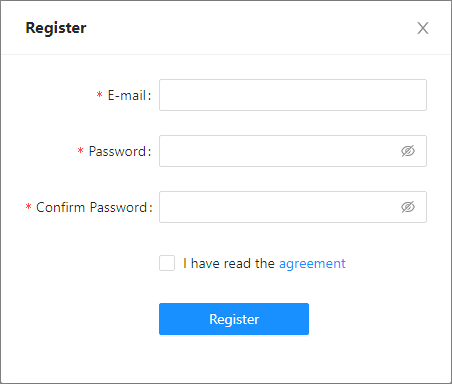
(Fig.1-9-1) to open a dialog as Fig.1-9-2. If you are a new user, click "Register now!".
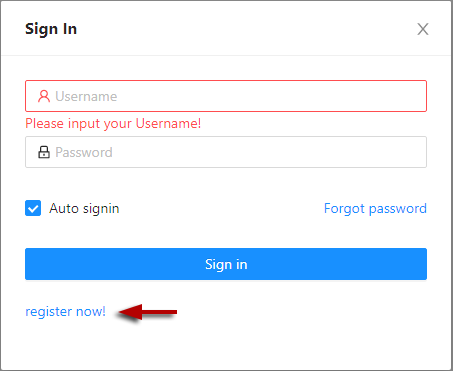
Step 1: create account
Here is an example:
Email: qiujinchao@wisedone.cn (must be a valid addresss for activating the account later)
Password: ********
Confirm password: ********
Check before "I have read the agreement".
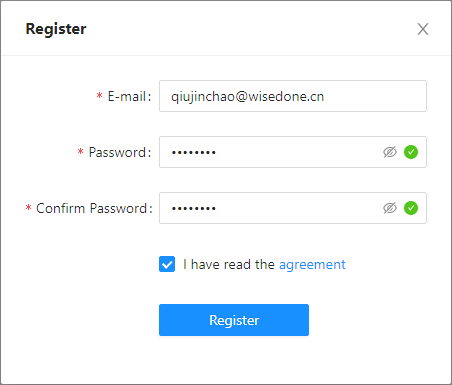
As Fig.1-9-4, make sure all are correct, then click "Register". A short time later a dialog will pop up as Fig.1-9-5.
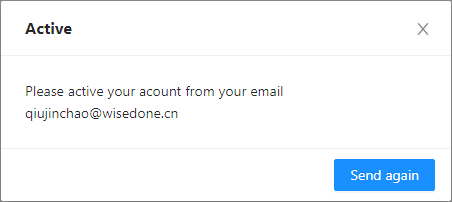
Step 2: activate account
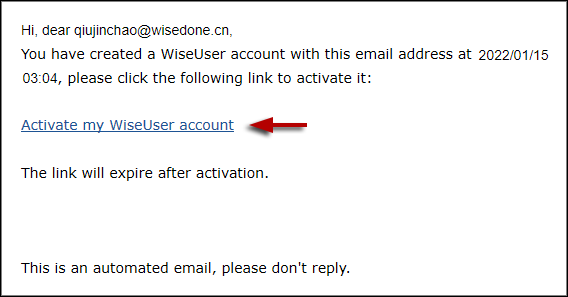
Sign in your email box and open the email of activation(Fig.1-9-6). Click "Activate my WiseUser account", you will see a page which tells the activation is successful.(Fig.1-9-7).
Note:the activation email may be classified as a junk email!
1.9.2 Pick and view FB on cloud
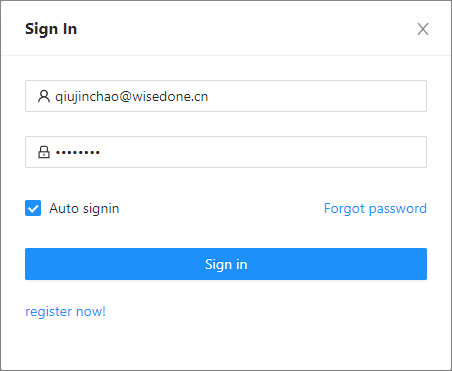
Click the toolbar icon
Type in your registered email address and password, click "Sign in" to open the dialog of "Cloud Pick" as shown in Fig.1-9-9.
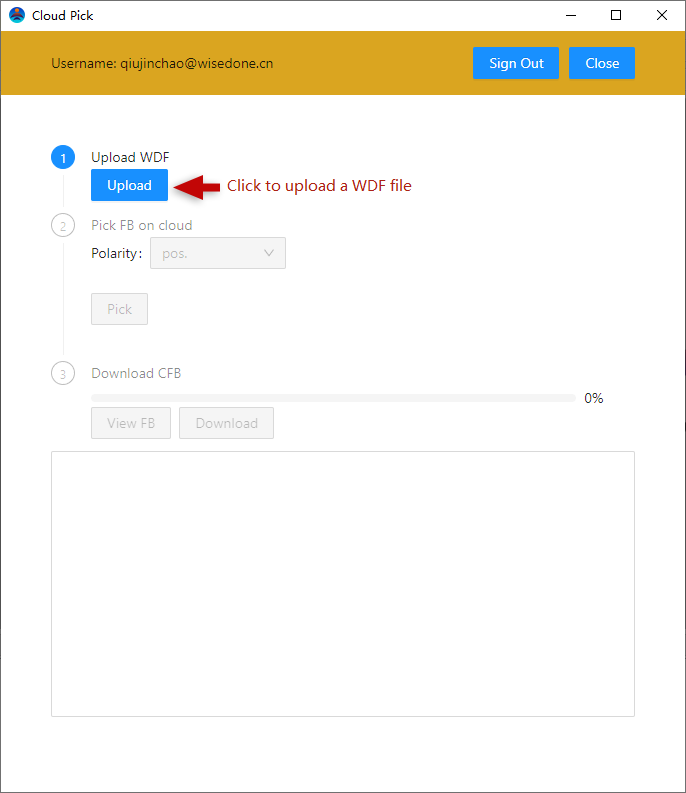
Step 1: upload WDF file
As in Fig.1-9-9, click the button "Upload" to select the WDF "vib_eg_Encrypted.sgy_8ms_1byte.wdf". After finishing the uploaded file will be shown as in Fig.1-9-10.
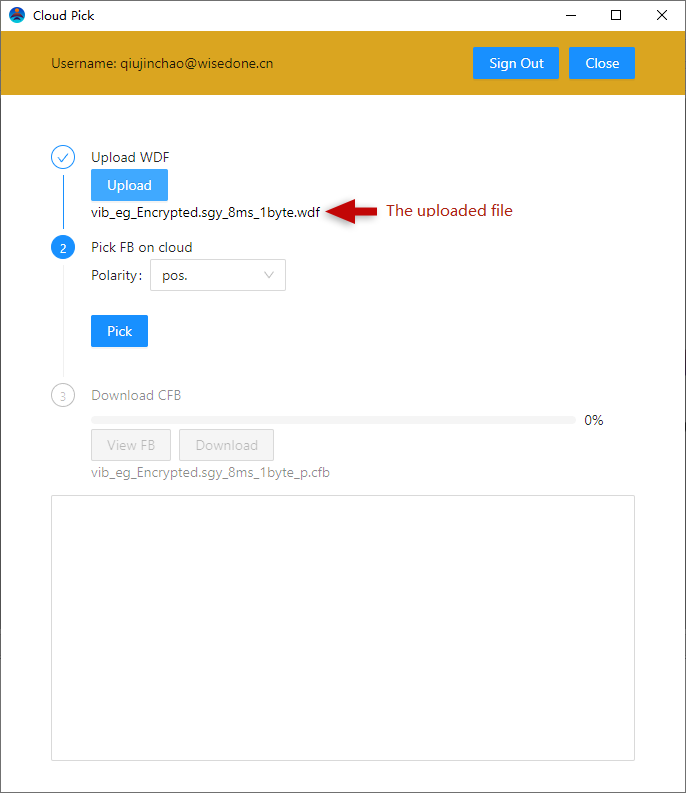
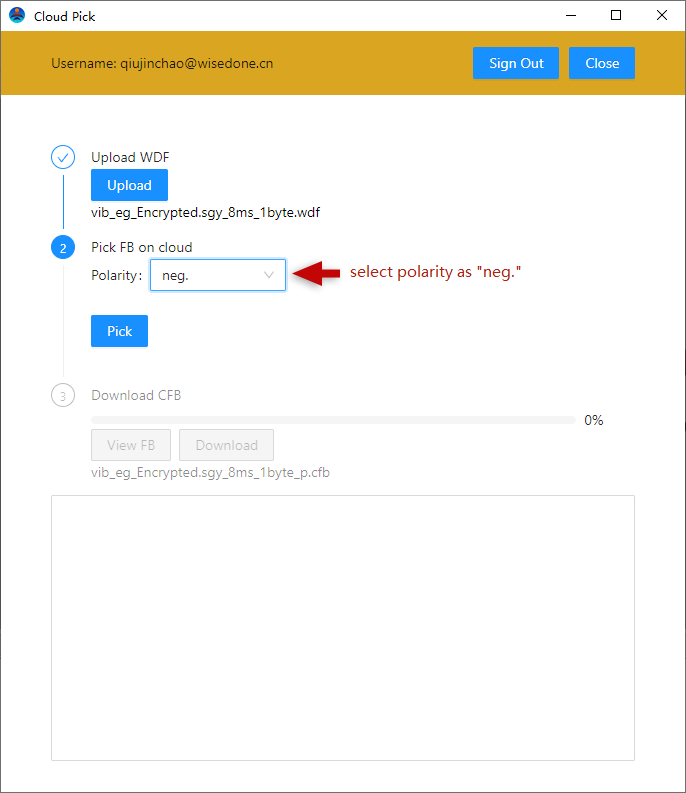
Step 2: pick FB
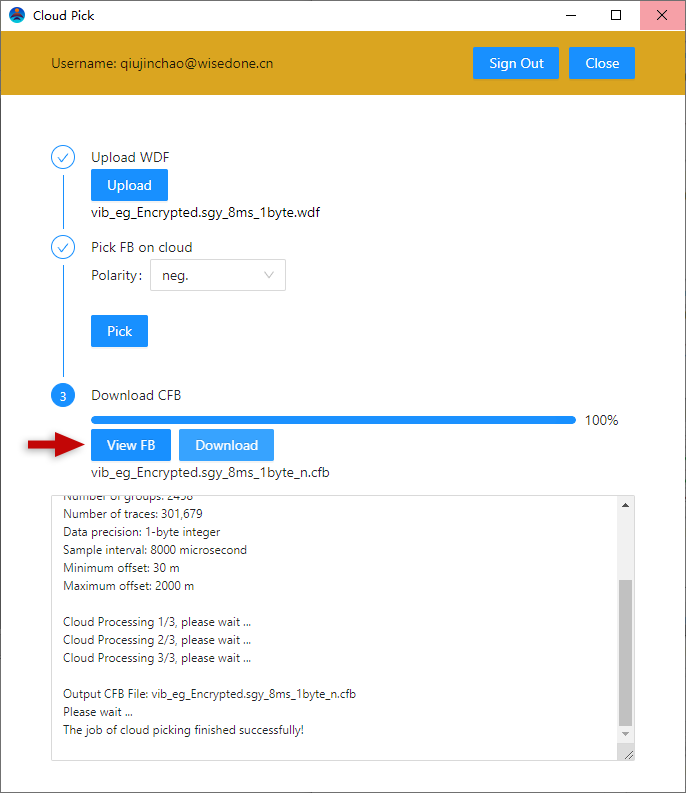
As in Fig.1-9-11, select "polarity" either "pos." or "neg."("neg." is preferred for the demo data) and click "Pick" to start the picking on cloud. The processing information will be shown in the lower box. After a short time the picking will finish(Fig.1-9-12).
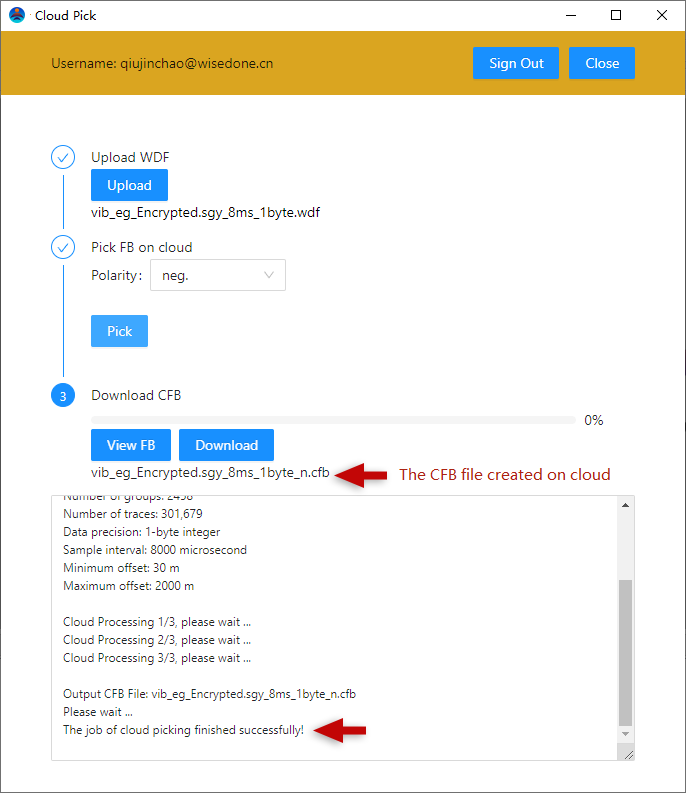
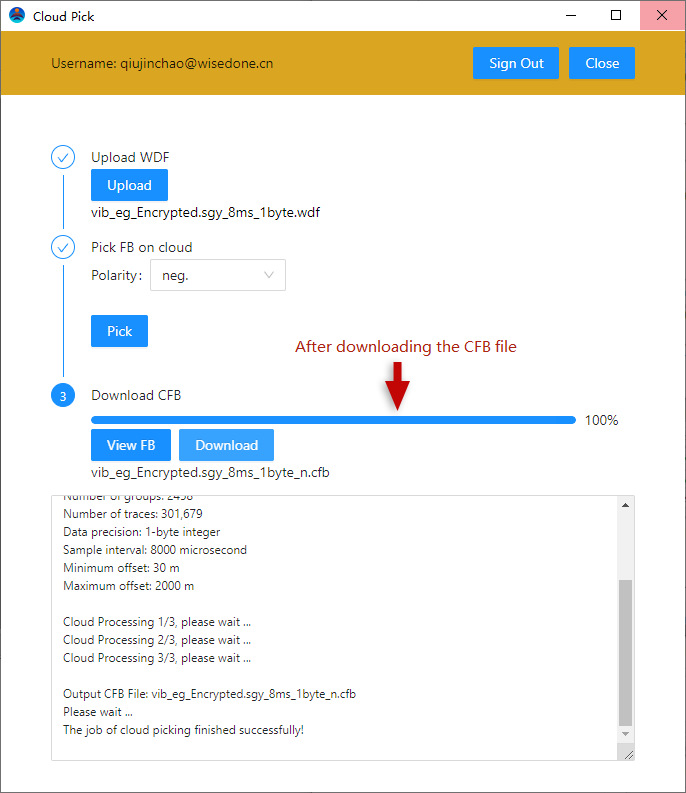
Step 3: download CFB file
As in Fig.1-9-13, click the button "Download" to save the CFB file "vib_eg_Encrypted.sgy_8ms_1byte_n.cfb" in the project directory of the user computer.
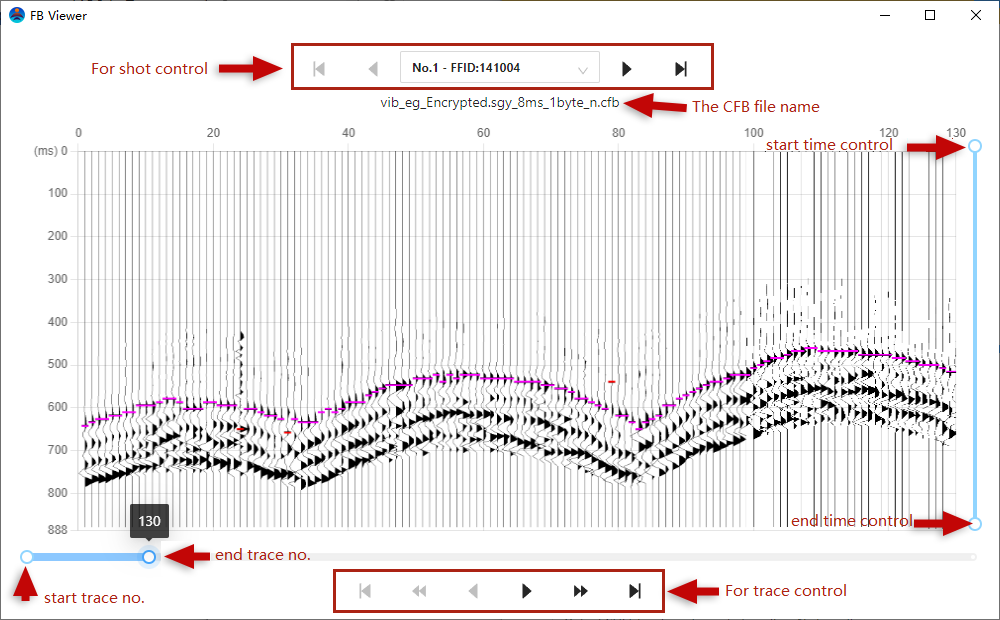
Step 4: view FB on cloud
As in Fig.1-9-14, click the button "View FB" and pop a FB viewer as in Fig.1-9-15. The user can check the picked FB on cloud.